
DIY: How to Install Laminate Flooring
Laminate flooring is a great option for this climate. It is also durable and more water resistant than traditional wood flooring. With its growing popularity, people are starting to replace their existing flooring with this new age Luxury Vinyl Laminate.
Contrary to popular belief, this type of flooring is actually something you can install yourself. Realistically, if you have never done this before, you could complete up to 1,000 sqft in a weekend.
All you need are FOUR items.*
1. Flooring 2. Flooring glue 3. Box cutter 4. Trowel
*Other items you may need include protective gear, face mask, gloves, a crowbar, a shopvac, quarter round flooring trim, knee pads, paint, painters tape, and a level.
I decided to replace the carpeting in my master bedroom with the vinyl planks due to allergies. I have found in the past it is difficult to keep the dust and pet dandruff/hair under my bed at bay since vacuum cleaners don’t fit under beds as sufficiently as I would like.
Research
I began my research the usual way, Google. After realizing how easy it would be to change my flooring I looked at the specifications for my home to find out what flooring was already in the majority of the living spaces. After finding a distributer that I could order from I went onto the flooring manufacturer's website.
Their website gave me some insight into what type of glue I needed, what needed to go under the flooring, tips and tricks, and suggested uses.

TIP:
I removed the existing carpet easily with a crowbar and a box cutter. In order to remove the minimal carpet glue from the floor, I mixed equal parts vinegar and water, sprayed it on the glue, waited 10-15 min then used a metal scraper to remove it. This method worked a lot better for me than expensive and toxic carpet glue removers that can be found at home improvement stores.
Down To Business
After unboxing your flooring and letting it acclimate for a few days to the temperature in your home you can start to decide where you want each piece to be placed. At this point I decided to make it seamless so the flooring continued from my hallway into my room without interruption. In order to do this, I simply pulled up the pieces that had been cut to make a straight edge against the carpet that was there. Those three pieces gave me rows to work off for the rest of the room.
After deciding where I wanted each plank to go, I simply scored the back of the pieces with my box cutter, and snapped them to make them the desired length. I labeled each board with a dry erase marker so I could keep track of what order they needed to be put down, and started with 24in sections.
Using the trowel and glue, according to the instructions, I placed all the pieces down with the correct expansion gaps. Every 24in I would assure they were straight, and move on to my next section.
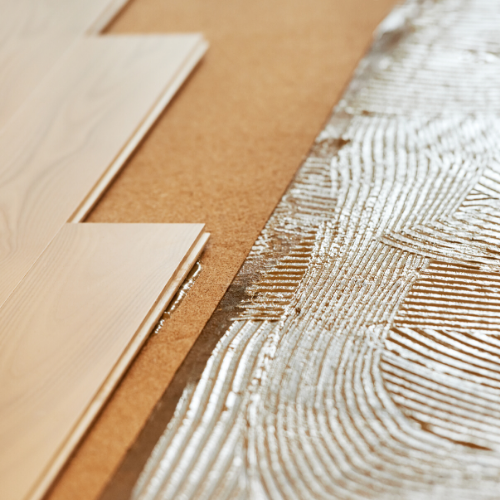.png?w=851)
TIP:
It is suggested that after the pieces have been down for a certain period of time (depends on the glue and type of flooring) you use a weight to assure there are no large air bubbles trapped under the planks that will cause problems later. I did this once I was halfway done with my room, and then to the other half a little while later.
Once it had dried according to the directions, I places my quarter rounds, painted them the appropriate color, and caulked them to match the rest of the house.
What I Wish I Knew Before
1. This glue is very sticky and it does NOT come off your clothing.
2. It is easy for the boards to slowly become crooked as you get farther down the room.
3. A crow bar is your best friend.
4. You can cut time down but acclimating the flooring while you’re removing your old flooring.
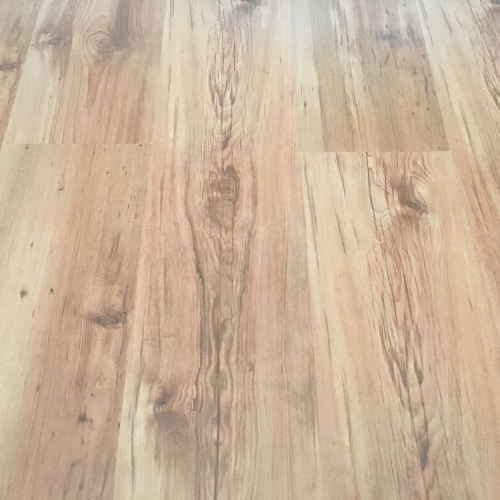
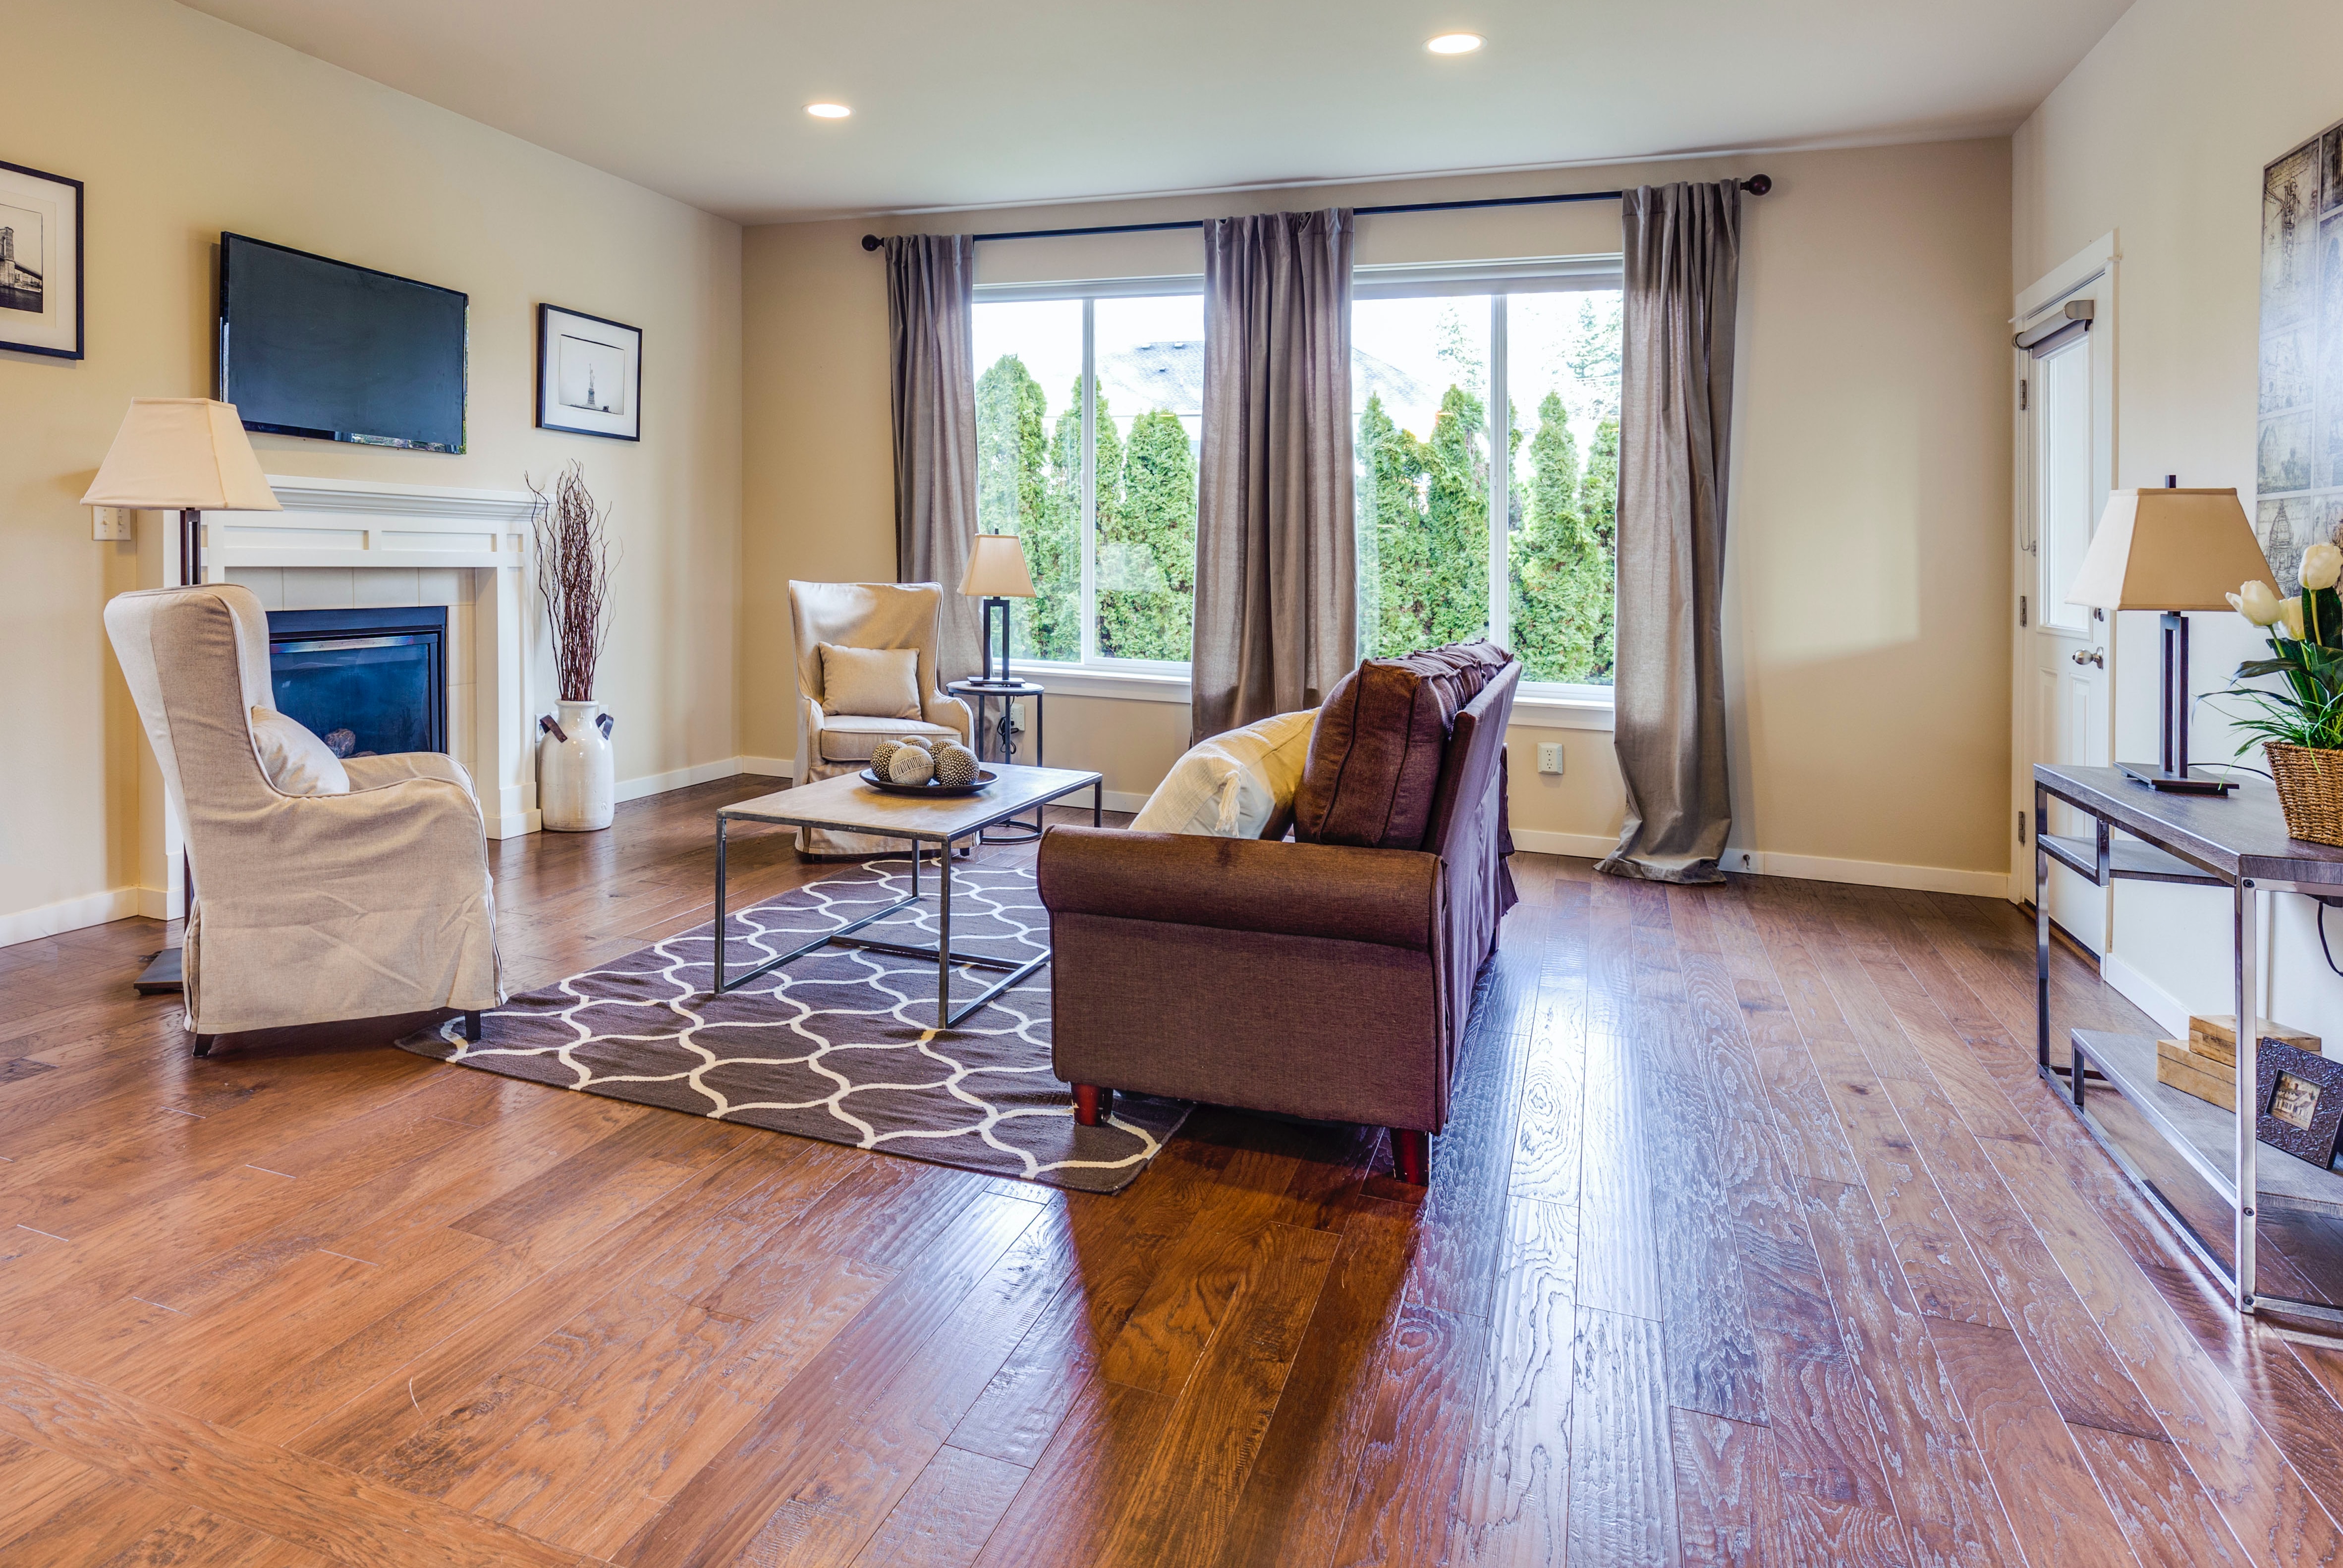
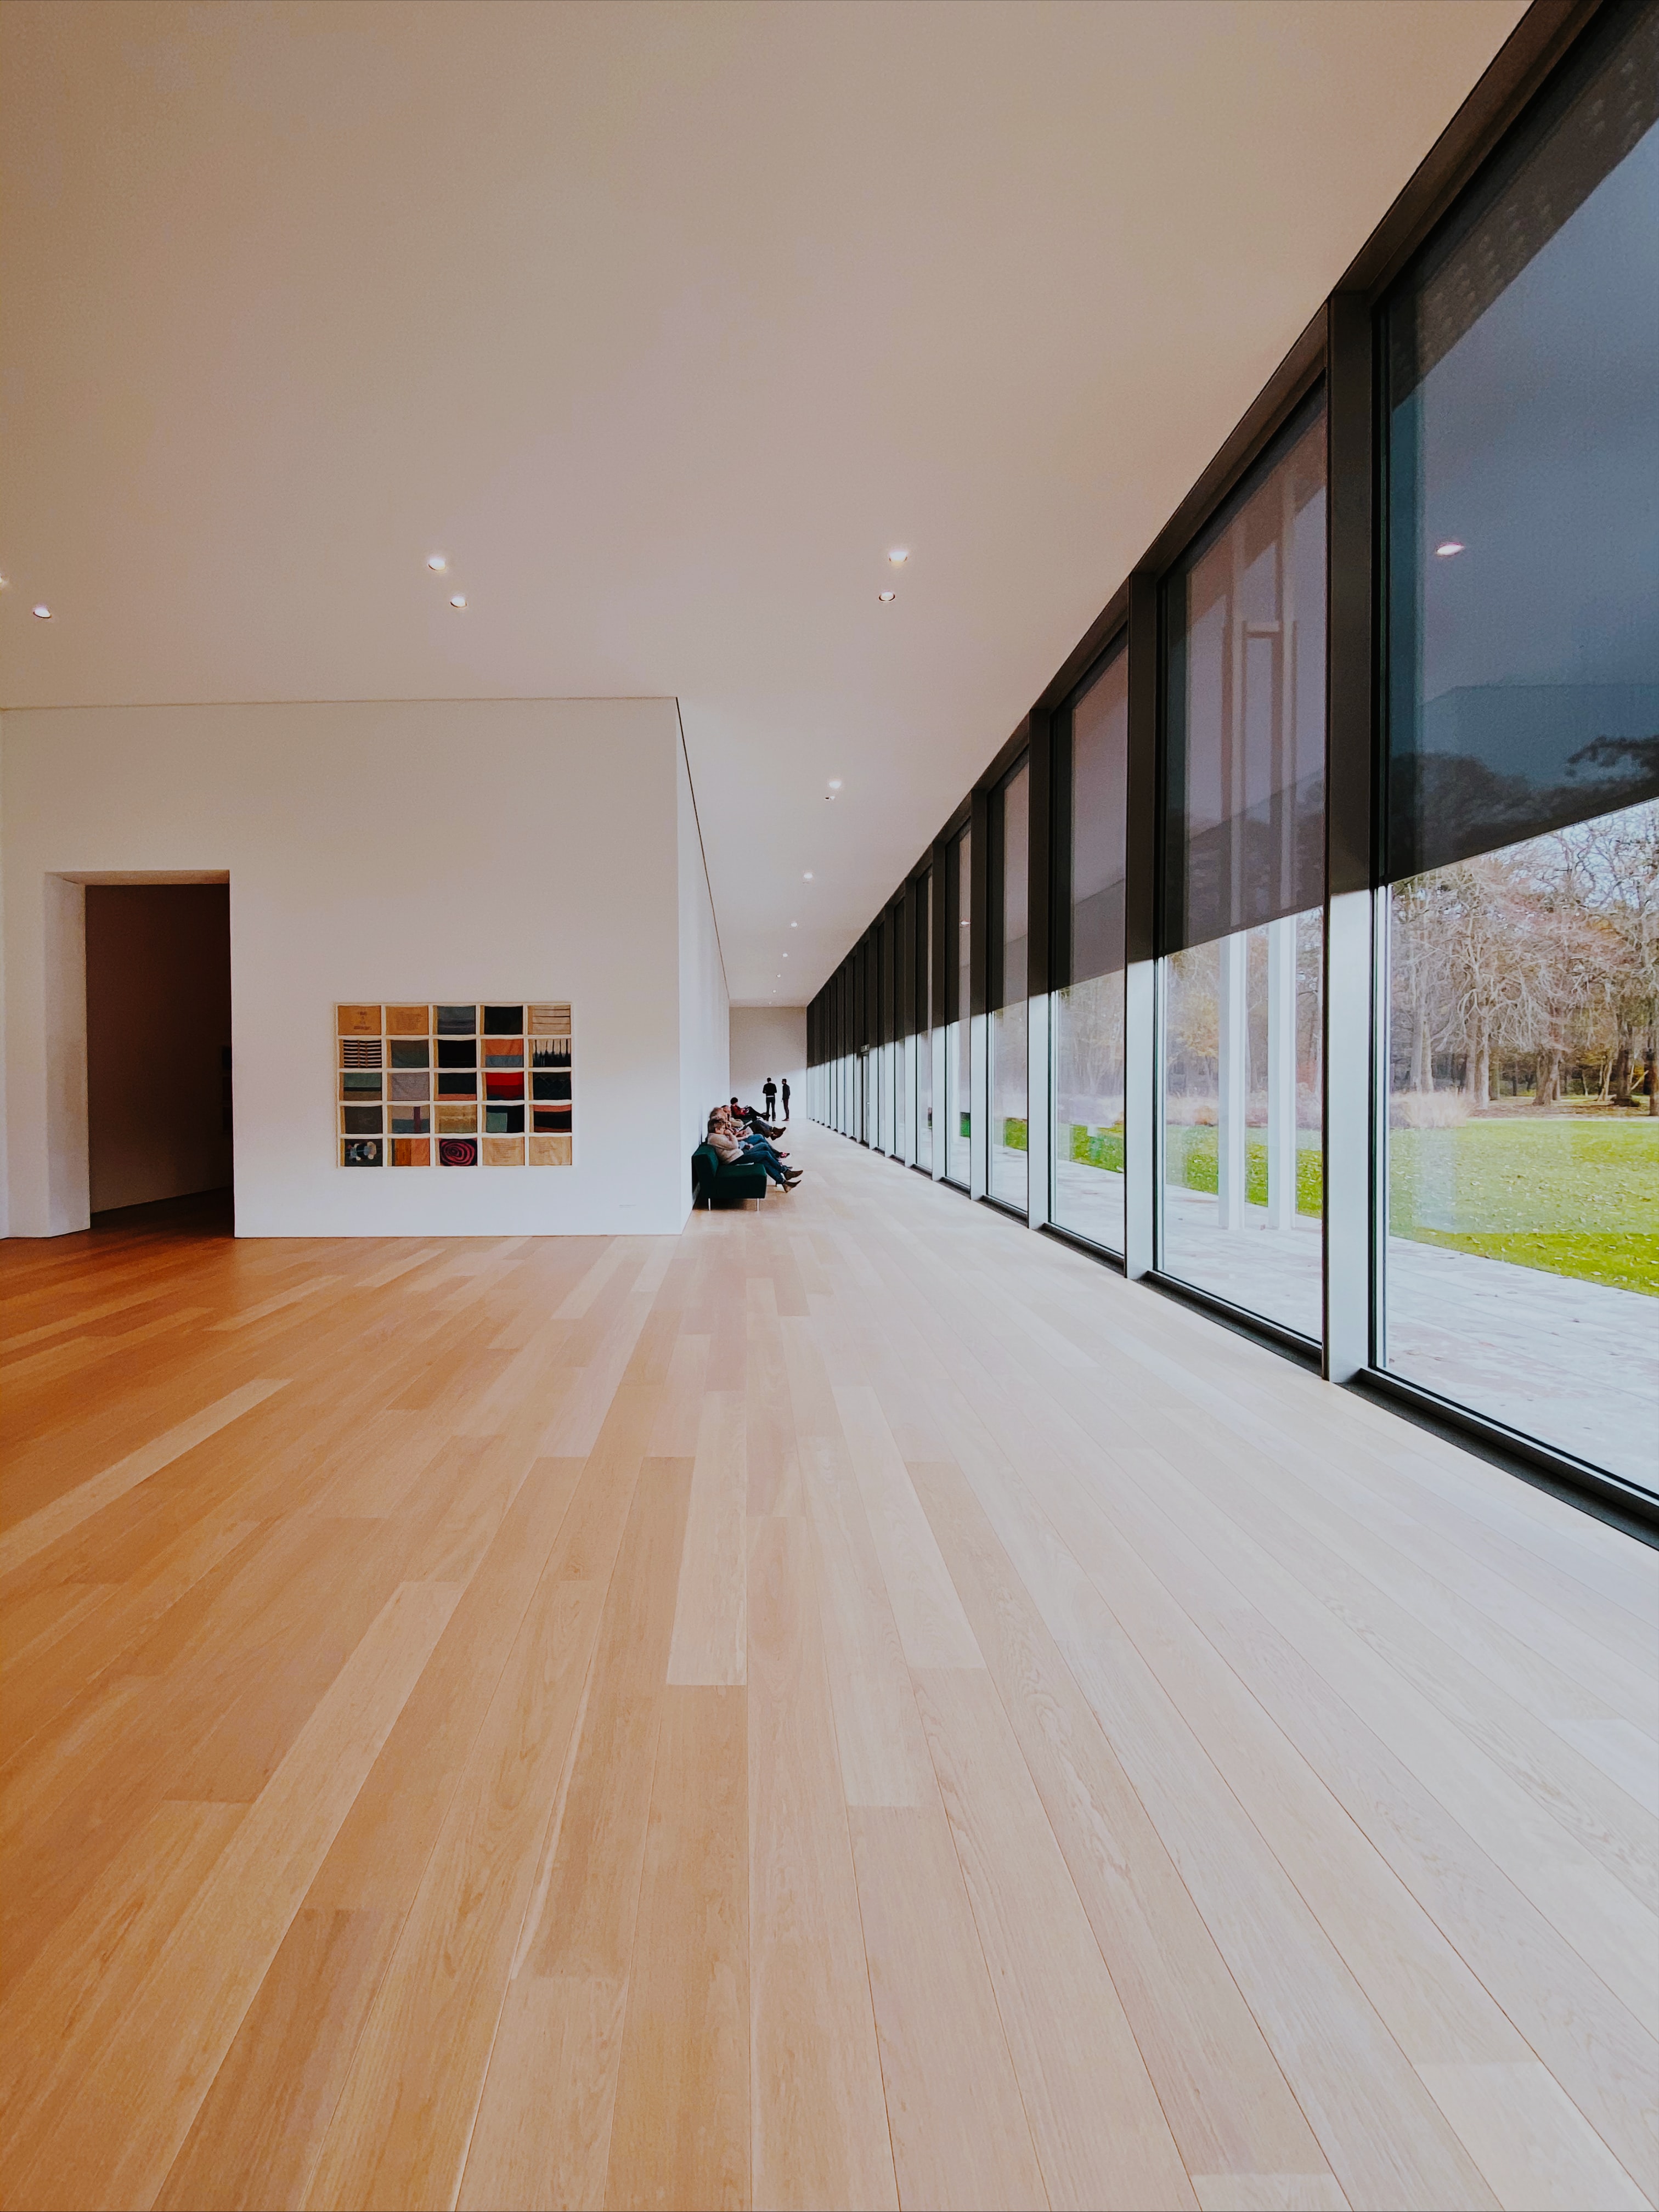
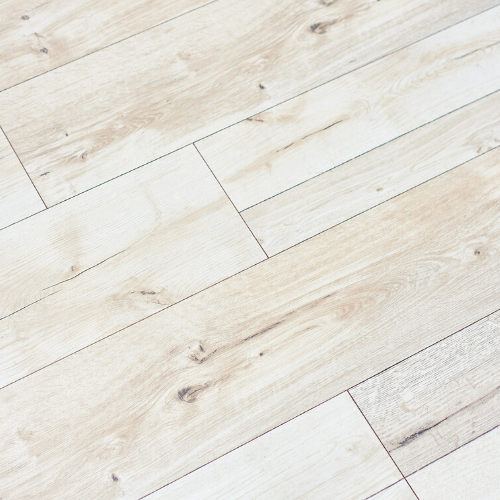
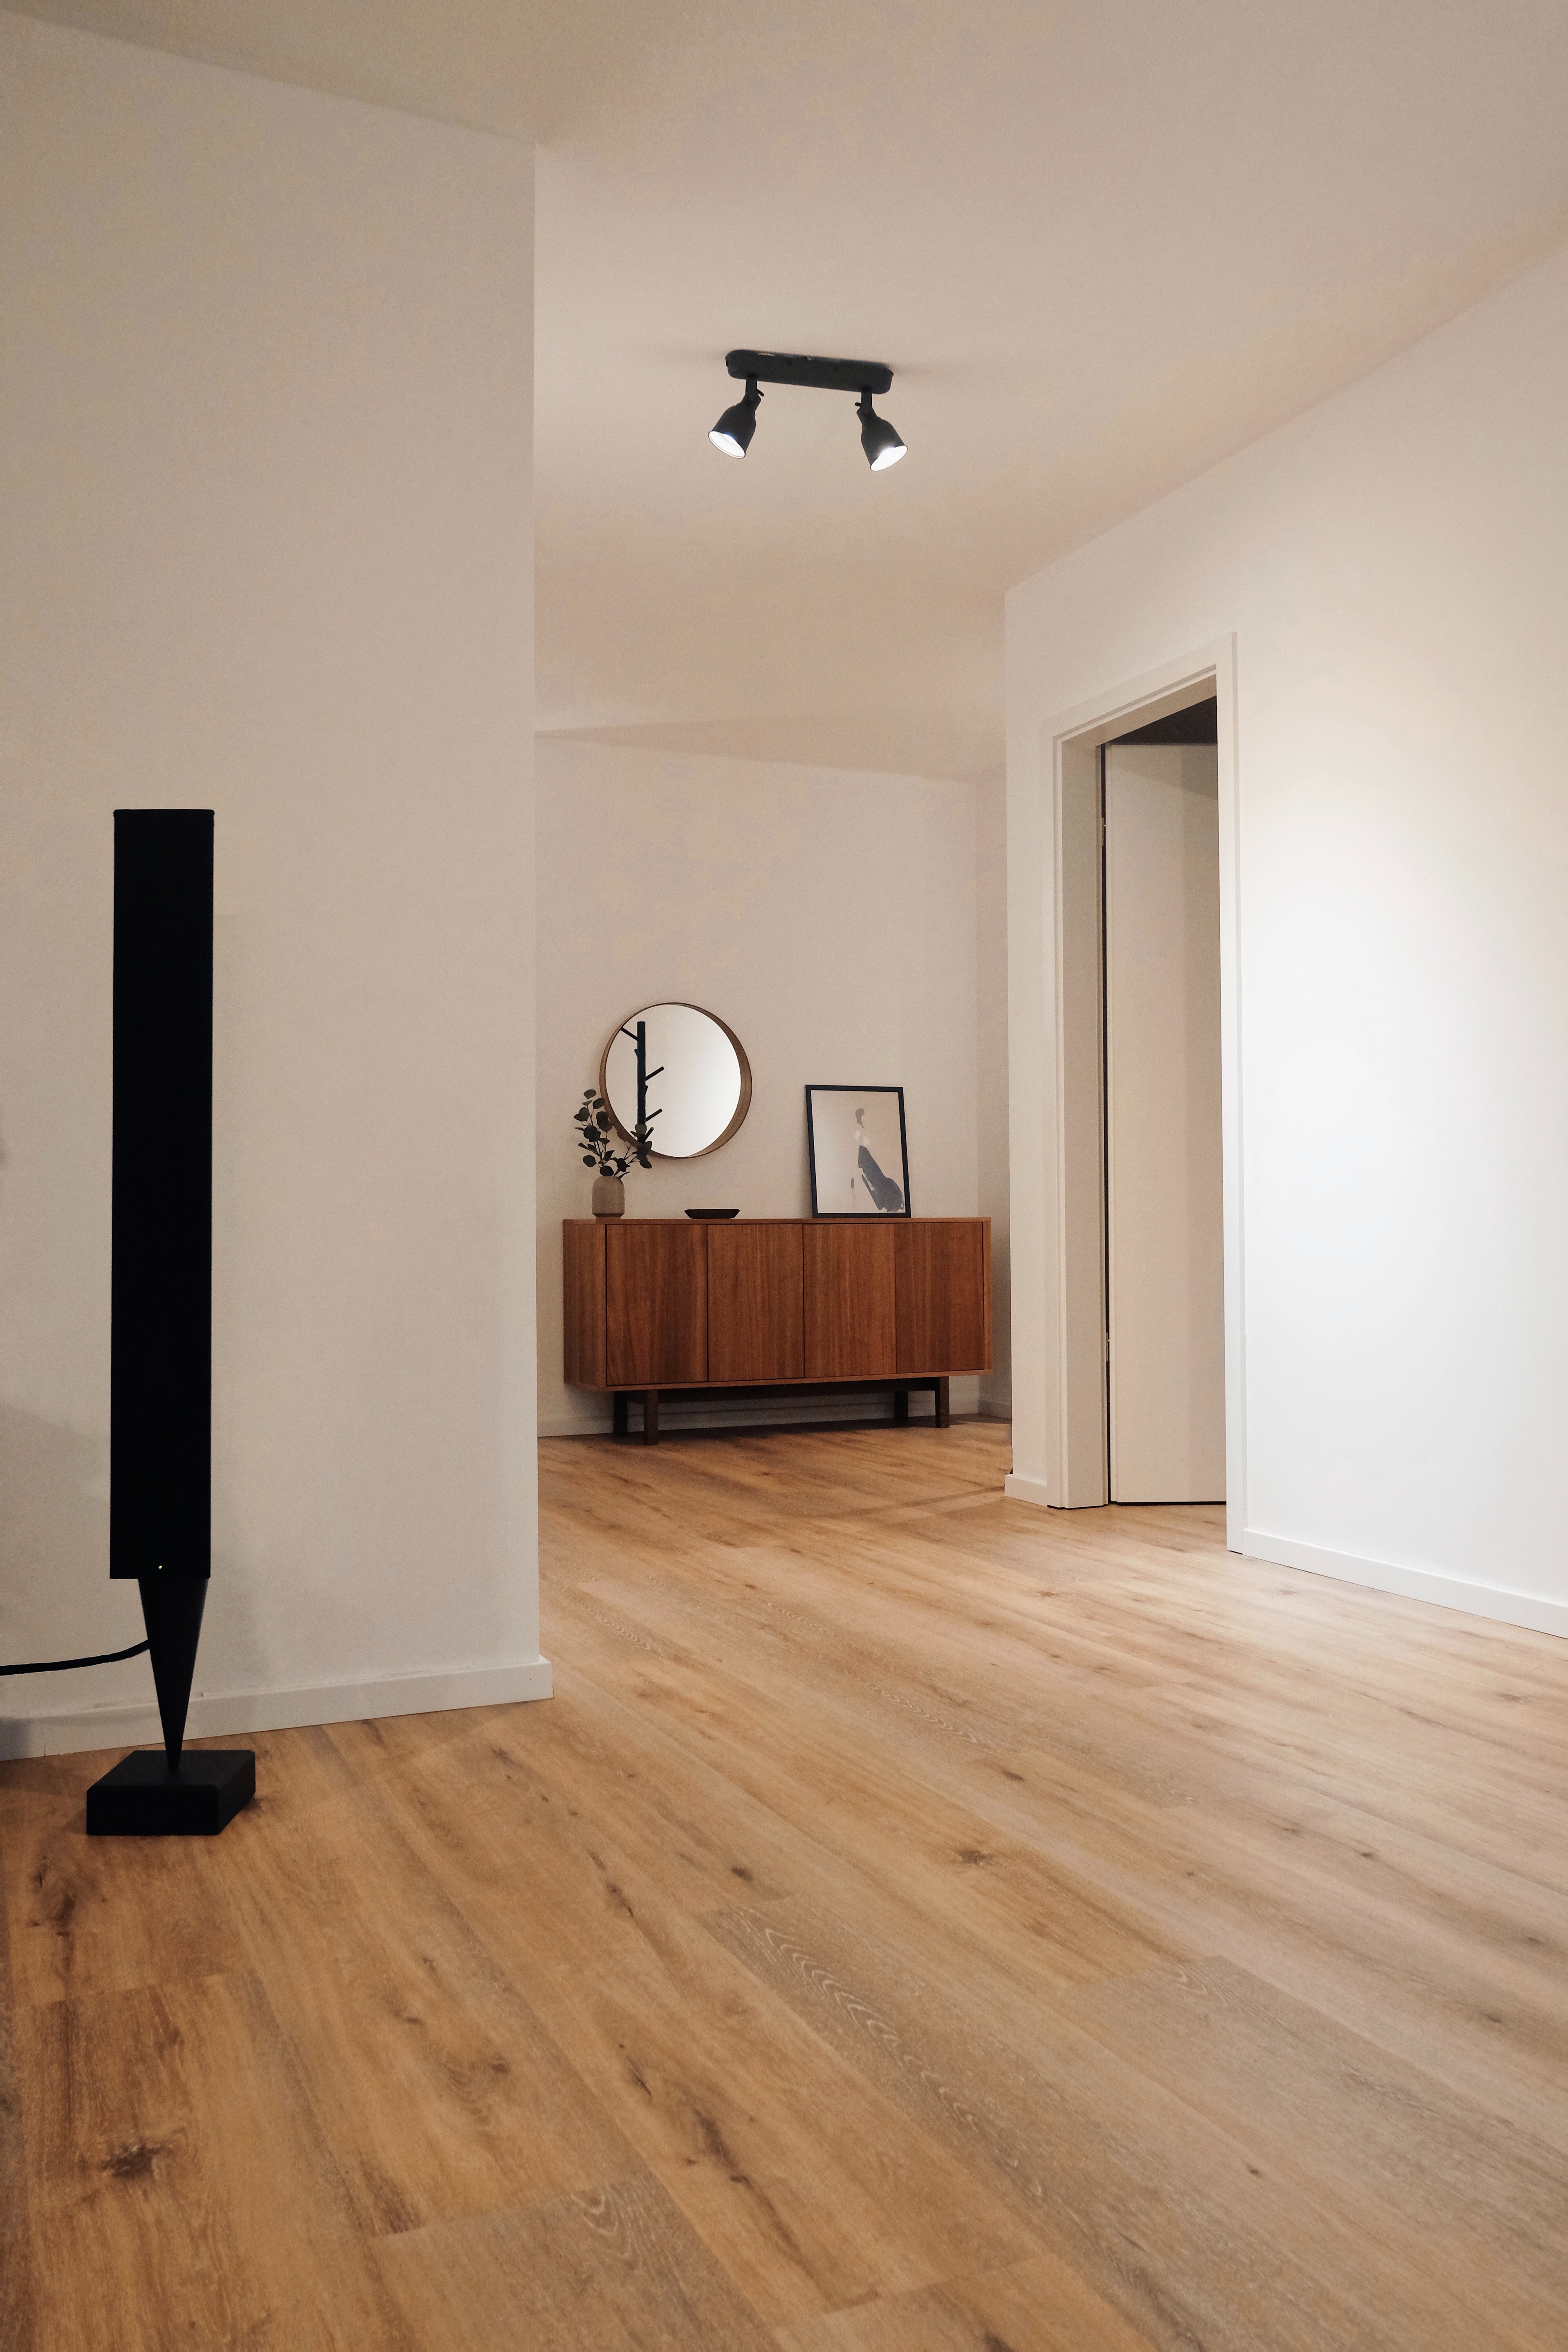
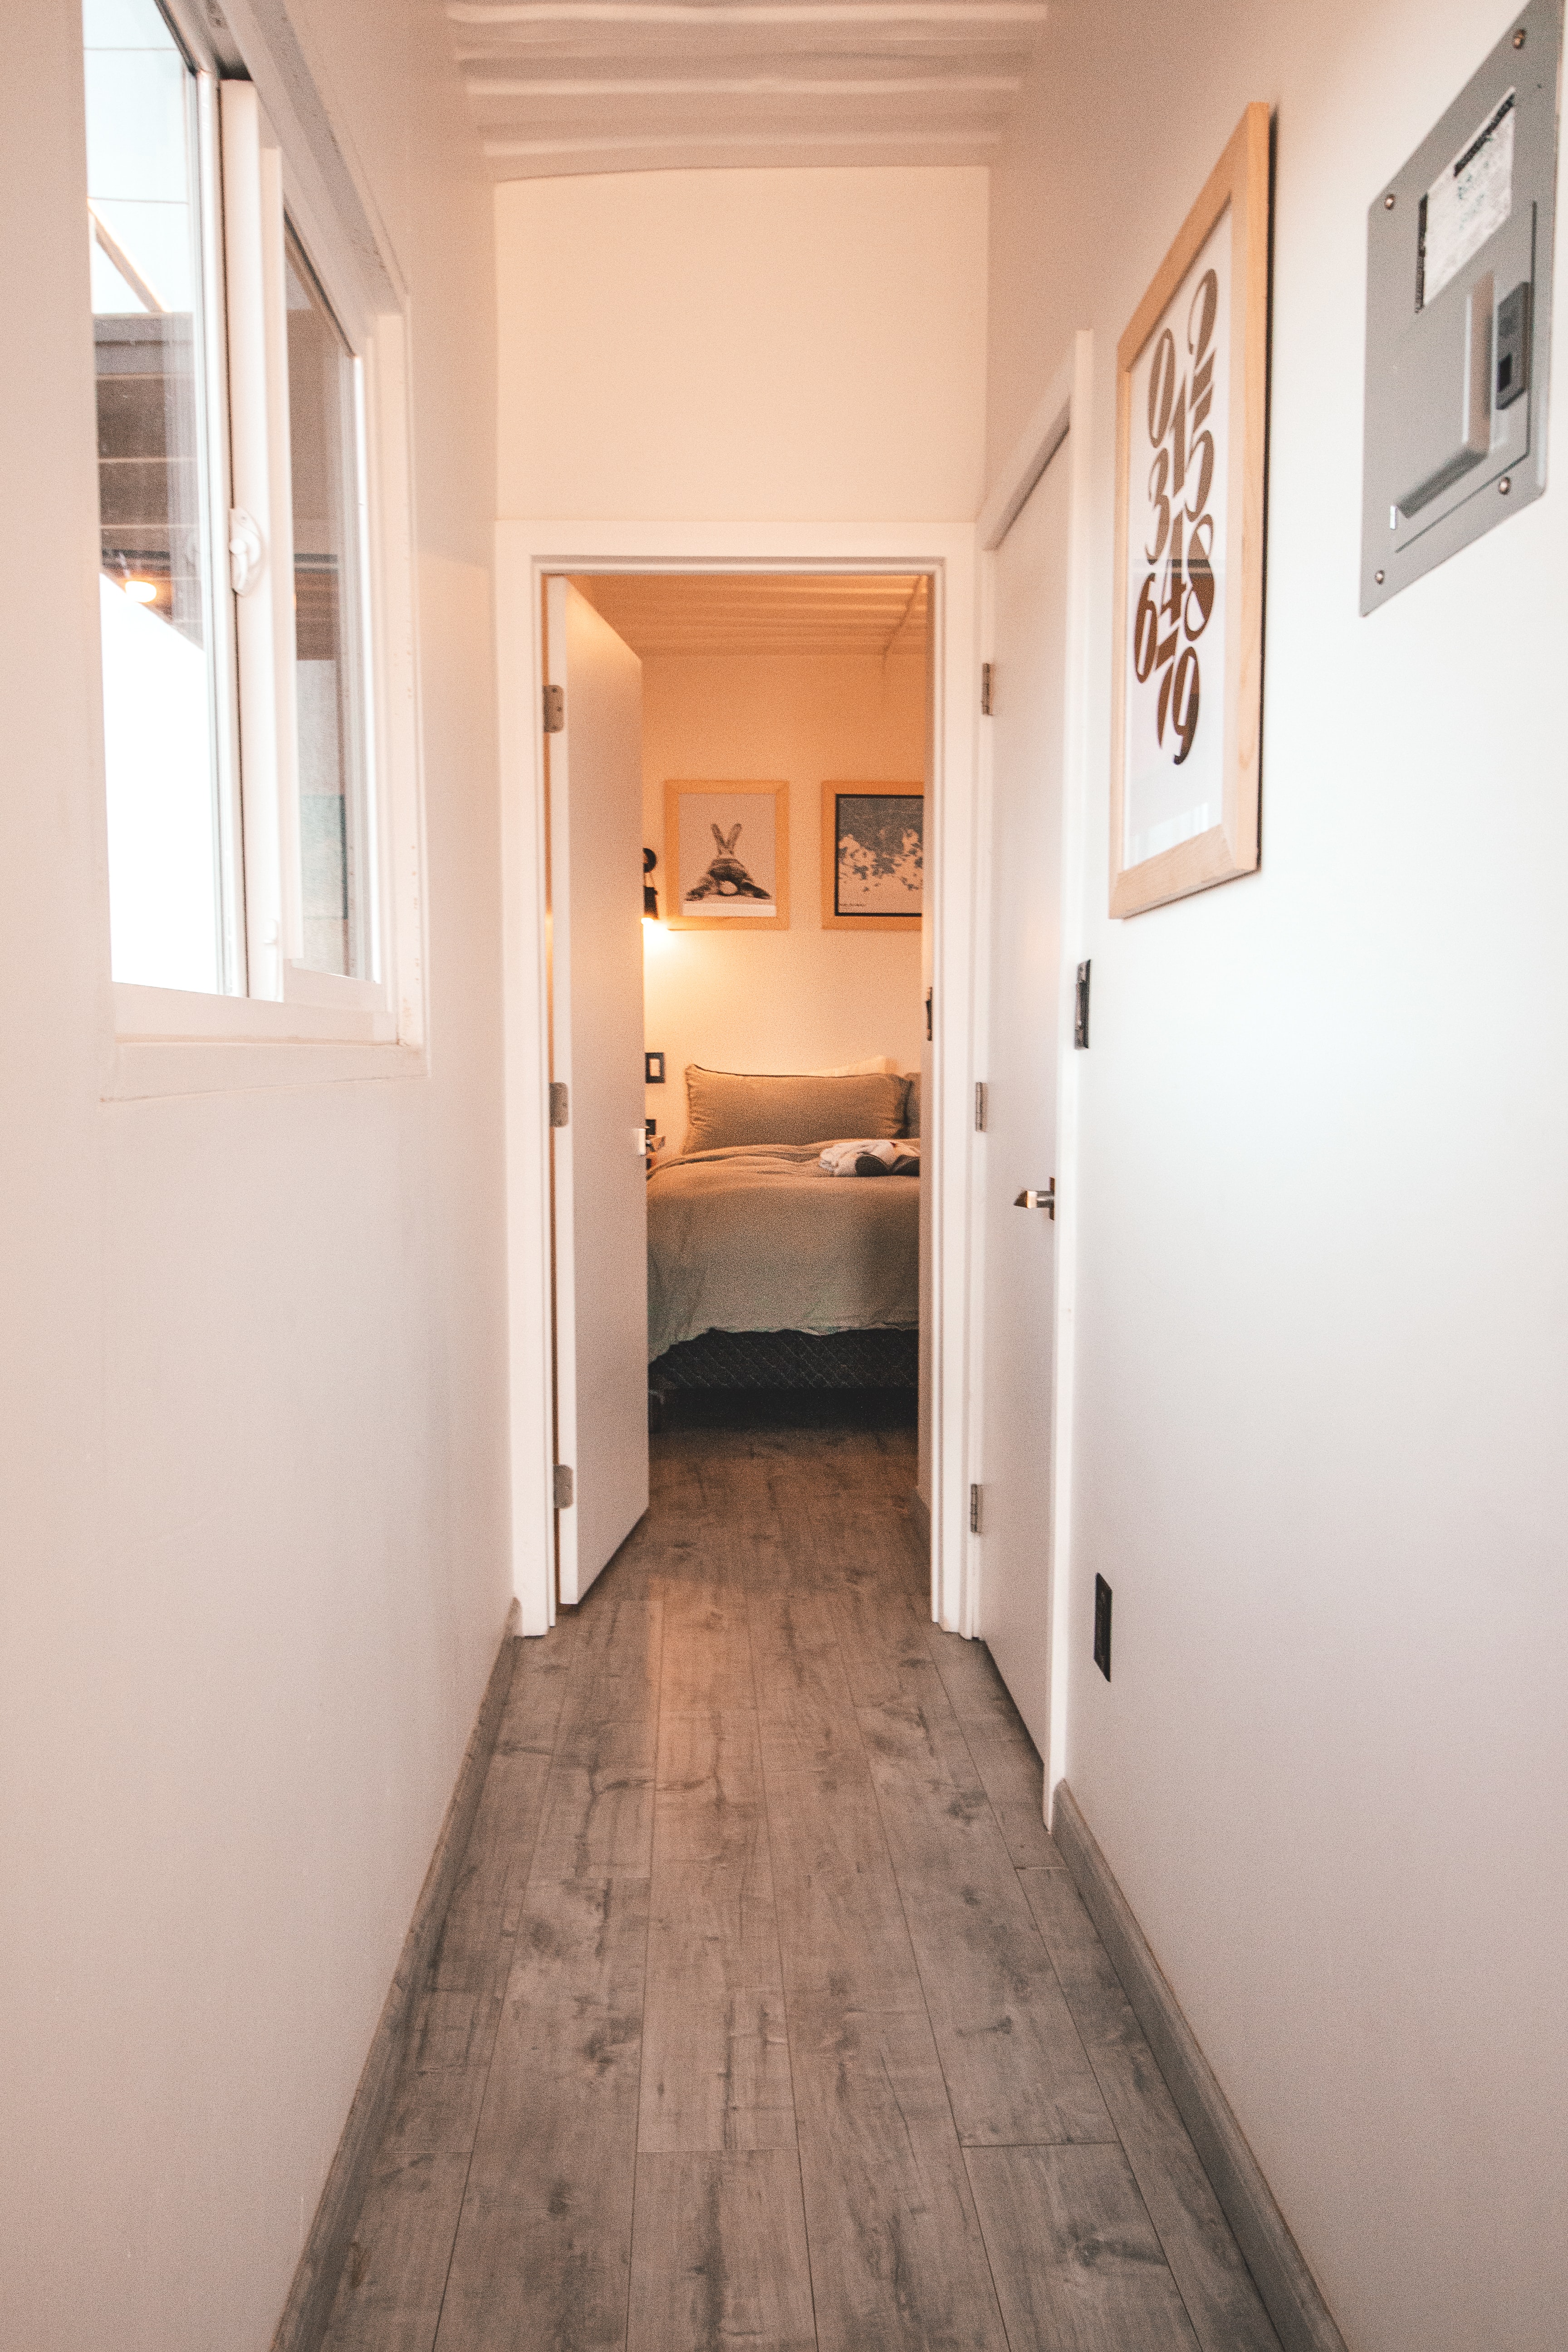
Flooring Inspiration